
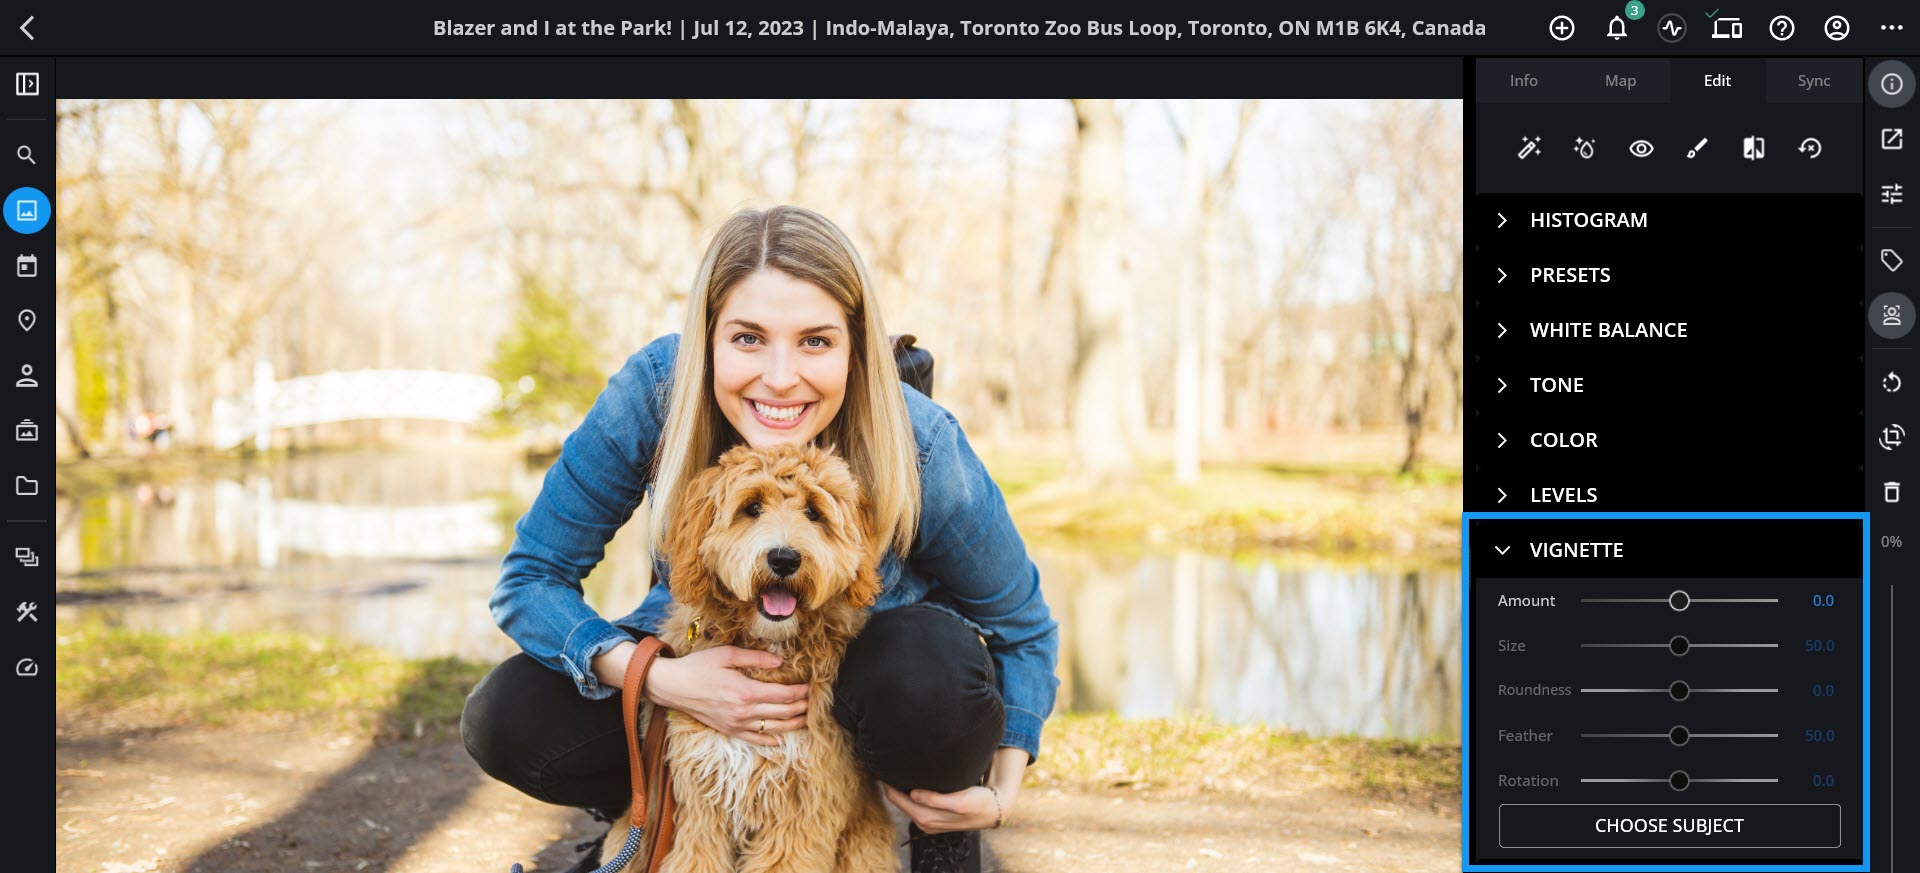
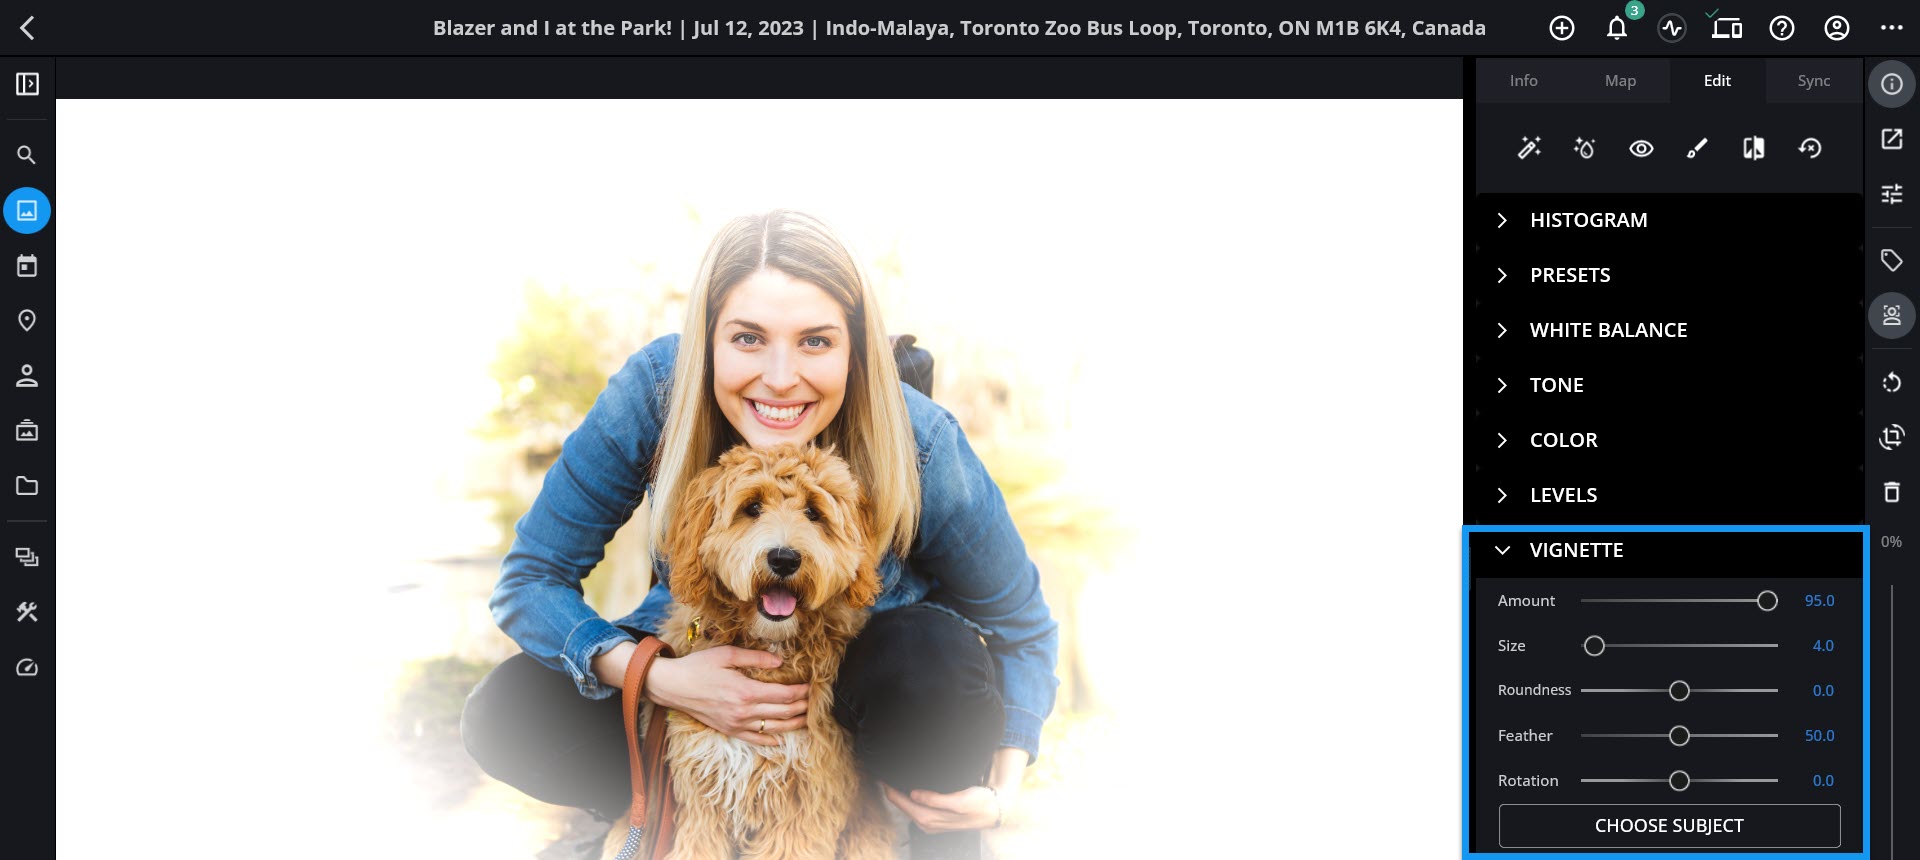
A Vignette darkens or lightens the edges of your image to emphasize the subject in a photo. The effect typically leaves the center of the image unaffected while darkening or brightening the edges.
- Open an image in Single Photo View, then click the edit icon
![]() to open the Edit Panel.
to open the Edit Panel. - Twirl down the arrow
![]() next to Vignette.
next to Vignette. - Move the Amount slider to the left to darken the edges or to the right to brighten the edges.
- Adjust the Size slider to the size of your subject. Moving this slider to the left increases the size of the vignette. Moving it to the right decreases the size of the vignette.
- Use the Roundness slider to change the shape of the vignette.
- Adjust the Feather slider to control the smoothness of the transition between the vignette and the rest of the image.
- Move the Rotation slider to the right to rotate the vignette clockwise and to the left to rotate counterclockwise.
- Click or tap the Choose Subject button, then move your pointer over the subject in your image and click to place the center of the vignette as desired.
- When you’re finished placing your vignette, click Done at the bottom of the screen.
Post your comment on this topic.