
Slideshows are a great way to showcase your favorite photos. Mylio Photos has several tools to create the perfect slideshow to share with family and friends.

Mylio Photos can create two types of slideshows: automatic and manual.
- Automatic Slideshows let you quickly display a Folder or Album of photos.
- Manual Slideshows are created from a customized Album where you choose the order in which the photos are shown.
- Creating an Automatic Slideshow
-
- Select a Folder or Album to use for your slideshow.
- Click the ellipsis icon
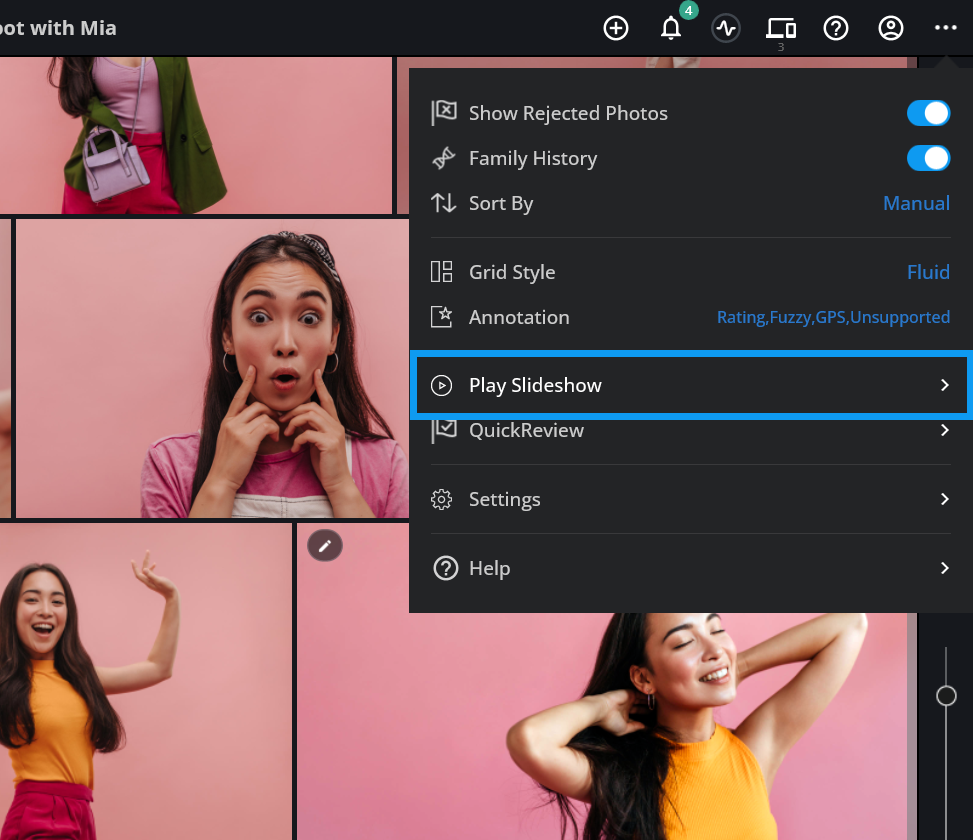
![]() in the top app bar to access the More menu and choose Play Slideshow.
in the top app bar to access the More menu and choose Play Slideshow.
![]()
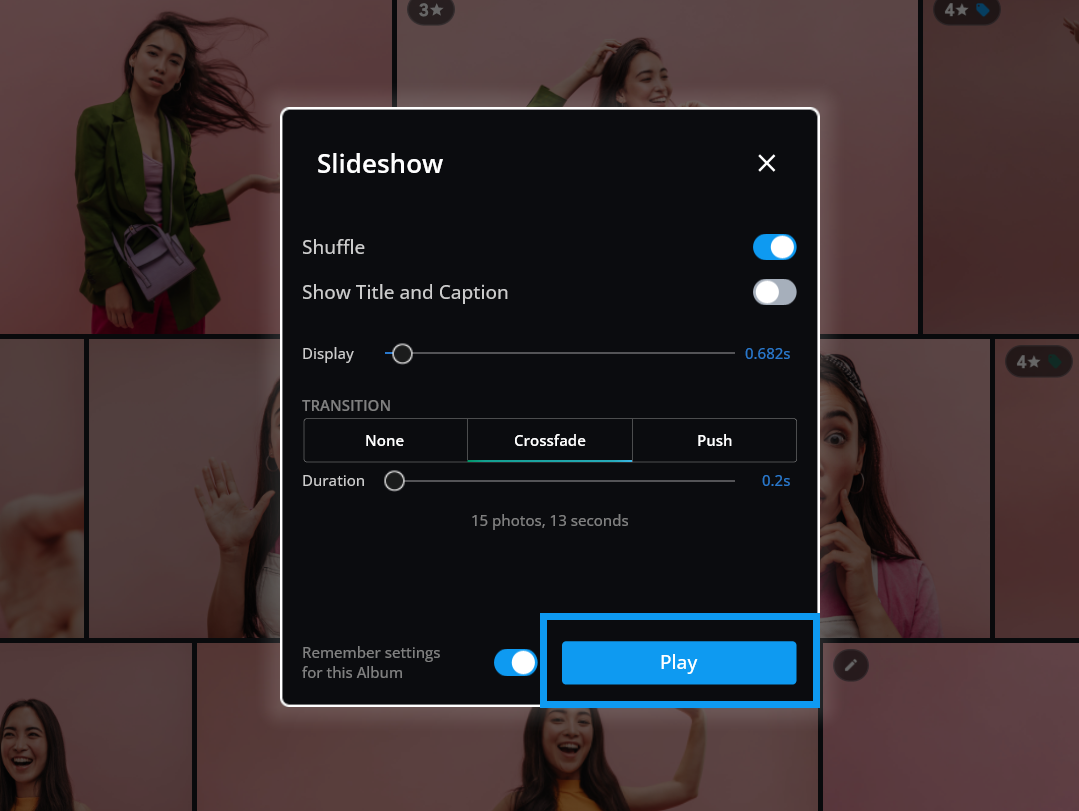
- Select the options you’d like to use in the Slideshow dialog. Scroll down for a description of each option.
- Click Play to view your slideshow.
![]()
- Creating a Manual Slideshow
-
- Create an Album of images for your slideshow, then double-click on the Album to view the contents.
- Click the ellipsis icon
![]() in the top app bar to access the More menu.
in the top app bar to access the More menu. - Select Sort by, and choose Manual. This will allow you to rearrange your photos in the Album manually.
- Click the ellipsis icon
![]() in the top app bar to access the More menu and choose Play Slideshow.
in the top app bar to access the More menu and choose Play Slideshow. - Select the options you’d like to use in the Slideshow dialog. Scroll down for a description of each option.
- Click Play to view your slideshow.
![]()
- Controlling the Slideshow Playback in Mylio Photos
-
After you click Play you can control the slideshow from the Play Bar at the bottom of the screen.
- Activate the Play Bar by tapping a touch screen or moving the mouse.
- Click the
![]() to end the slideshow.
to end the slideshow. - Use the arrows to move forward and backward in the slideshow.
- Press the Pause/Play button to stop or start the slideshow.
- Click the Gear icon
![]() to adjust the slideshow settings.
to adjust the slideshow settings.
- Slideshow Options
-
Customize your slideshow with the following options:
Shuffle
Mylio Photos will randomize the slideshow images from the selected Folder or Album.
Show Title and Caption
The photo’s Title and Caption will be displayed during the slideshow. The file name will be shown instead if an image title is not specified.
Display
This slider lets you choose how long to display a photo before moving to the next one.
Transition
Choose from Crossfade or Push to animate the transition, or choose None for no animation.
Transition Duration
This slider lets you speed up or slow the transition between photos.
- Exporting a Slideshow as a Video
-
Exporting your slideshow as a video is a great way to share your photos with a broader audience. Video slideshows can be emailed, shared on social media, and posted on popular video-sharing platforms.
- Create an Album of images for your slideshow, then double-click on the Album to view the contents.
- Click the ellipsis icon
![]() in the top app bar to access the More menu.
in the top app bar to access the More menu. - Select Sort by, and choose Manual. This will allow you to rearrange your photos in the Album manually.
- Right-click on an image in your album or tap the kebab icon
![]() in the right sidebar to access the Actions menu and choose Select > All.
in the right sidebar to access the Actions menu and choose Select > All. - Click the Share icon
![]() from the right sidebar and choose Export as Video.
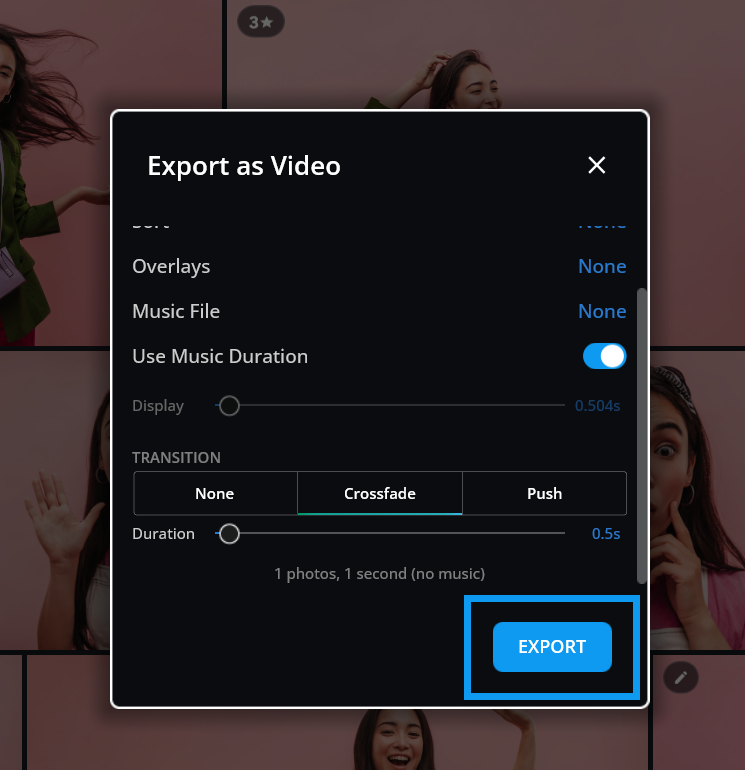
from the right sidebar and choose Export as Video. - Choose from the following options:
- Resolution – Choose between 640×480, 1280×720, or 1920×1080 pixels. The largest size is considered high definition and will work well on tablets, computers, and video-sharing sites.
- Sort – Sort by Name, Date, Custom, or None. Choose None if you manually sorted your slideshow images in your Album.
- Overlays – Add an optional text overlay to your slideshow with your photos’ capture date, title, copyright, and caption.
- Music File – Attach an audio file as a soundtrack for your slideshow.
- Use Music Duration – When ON, the slideshow timing will automatically adjust to the length of the audio soundtrack.
- Display – This slider lets you choose how long to display a photo before moving to the next one.
- Transition – Choose from Crossfade or Push to animate the transition or choose None for no animation.
- Duration – This slider lets you speed up or slow the transition between photos.
- Click the Export button, choose where to save your slideshow on your hard drive, then click Save.
![]()

Post your comment on this topic.