
Rating images in Mylio Photos — using Flags, Stars, or Color Labels — is a highly effective way to organize your Mylio Photos Library further and make images fast and easy to find using Dynamic Search and QuickFilters.
- Select a photo, or series of photos.
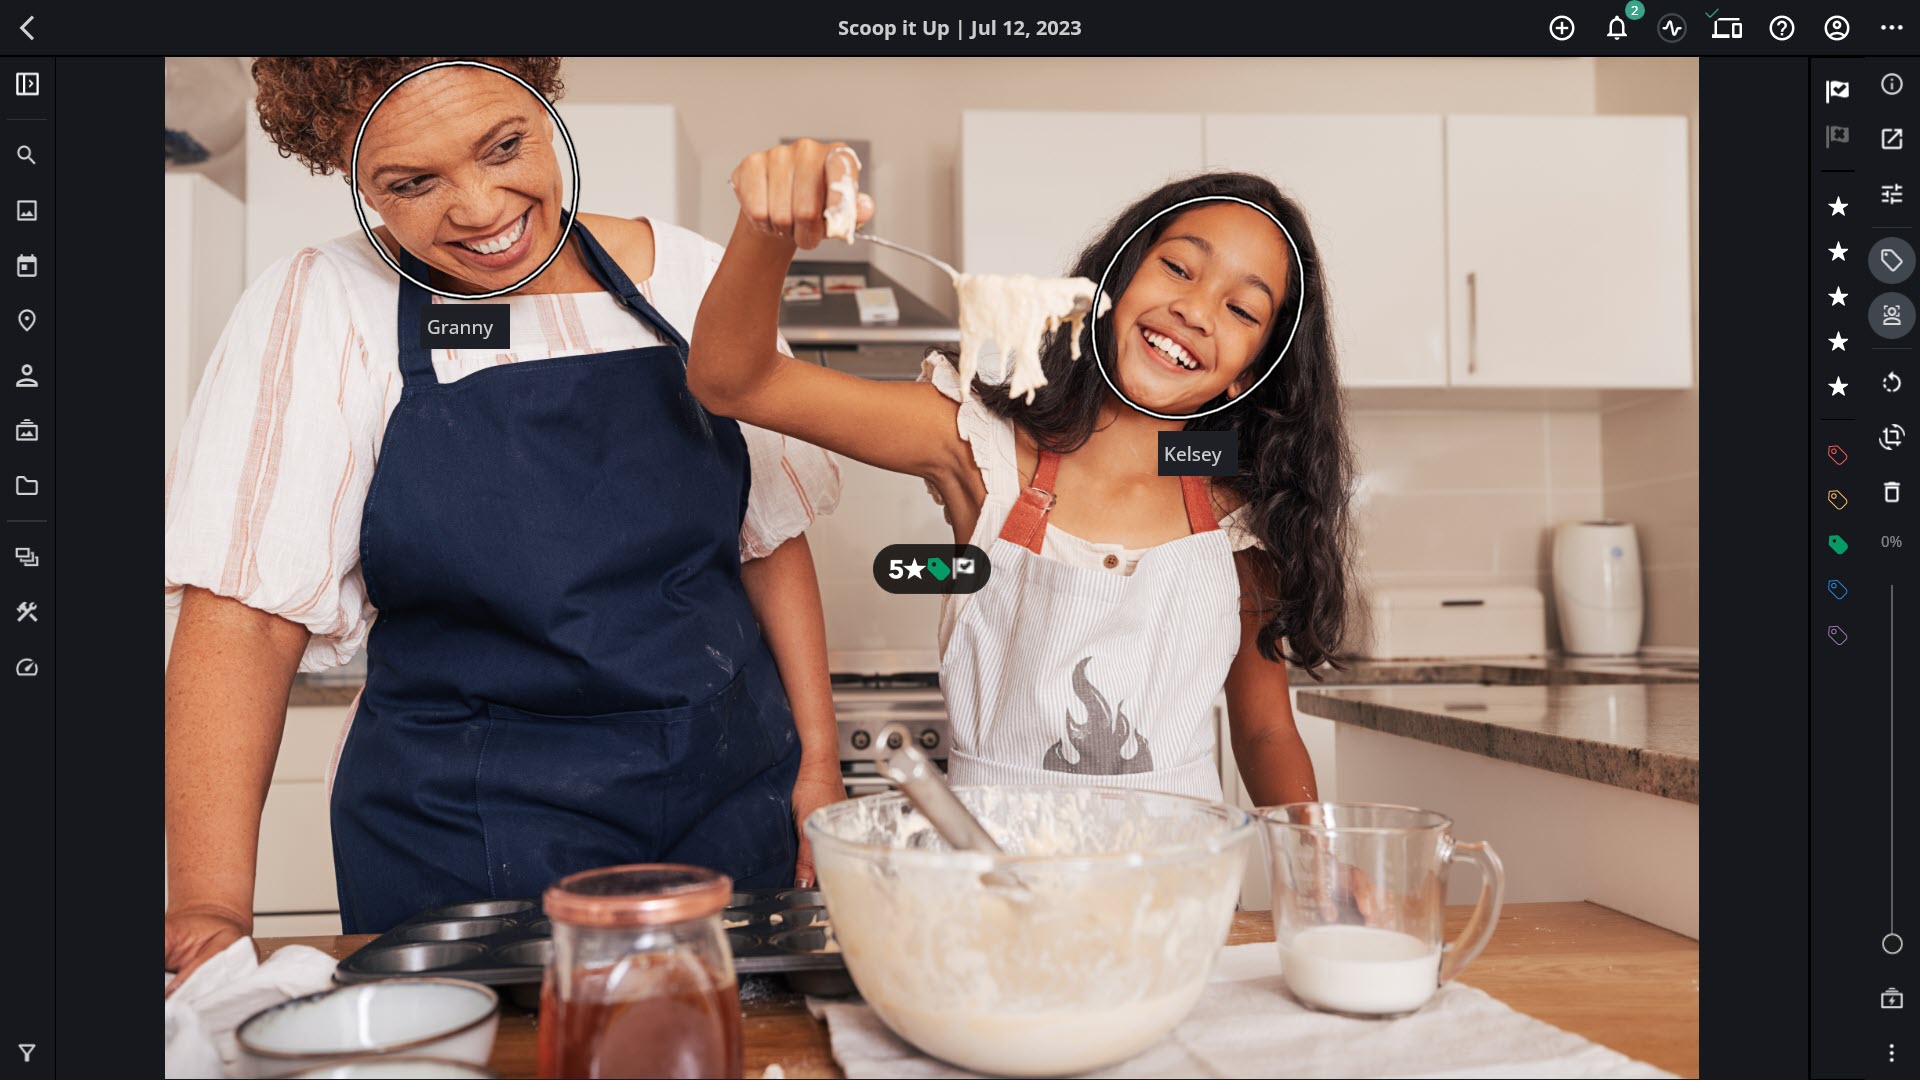
- Click or tap on the tag icon
![]() in the right sidebar to open the Rating Bar.
in the right sidebar to open the Rating Bar. - Add Flags, Stars, or Color Labels to help organize your photos and make them easier to find.
Using Pick and Reject Flags
Flags are a quick and easy way to sort images by picking your favorites and rejecting the ones you don’t want to keep. Mylio Photos offers three flag states: Pick, Reject, and Unflagged.
Flags can be used in a variety of ways. Here are a few examples of how a Pick Flag can be used:
- To mark your favorite(s) in a group of images.
- To mark photos that you want to edit later.
- To mark photos that you want to share with family or friends.
Reject Flags are also versatile. Here are a couple of examples of how a Reject Flag can be used:
- To mark photos you want to delete or consider for deletion.
- To mark photos you want to gray out or hide in your Mylio Photos Library.
Flags can be added to images using the Rating Bar, Keyboard Shortcuts, or Gestures using a touchscreen, trackpad, or mouse.
- Adding Pick and Reject Flags using the Rating Bar
-
- Select a photo or series of photos.
- Click on the tag icon
![]() in the right sidebar to open the Rating Bar.
in the right sidebar to open the Rating Bar. - Add (or remove) a Flag by clicking on the Pick Flag icon
![]() or Reject Flag icon
or Reject Flag icon ![]() .
.
- Adding Pick and Reject Flags using Keyboard Shortcuts
-
- Select a photo or series of photos.
- Mark image(s) with a Pick Flag using the
Pkeyboard shortcut or mark image(s) with a Reject Flag using theXkeyboard shortcut. - Toggle the flag state between Pick, Reject, and Unflagged using the
.keyboard shortcut.
- Adding Pick and Reject Flags using a Touchscreen, Trackpad, or Mouse
-
Gestures are a quick and easy way to add flags to images. Gestures are enabled by default; however, if you’d prefer to disable them, visit Settings in the More menu, select General, and toggle the switch next to Enable Single Image Review Gestures to the OFF position.
- Open an image in Single Photo View.
- On a touchscreen device, touch and drag up or down on the right-hand side of the image to change the Flag status.
- Using a trackpad or mouse, click and drag up or down on the right-hand side of the image to change the Flag status.
- Open an image in Single Photo View.
- Working with Reject Flags
-
An image marked with a Reject Flag will automatically be dimmed and grayed out in your Mylio Photos Library. You can choose to hide all images marked with Reject Flags or opt to delete them permanently.
Hide Rejected Images
By default, images marked with a Reject Flag will be grayed out or dimmed to indicate that the image has been rejected visually. You can also hide all rejected images in your Mylio Photos Library. This will make them invisible but will not delete them.
To hide all rejected images, open the More menu and toggle the switch next to Show Rejected Photos to the OFF position. You can toggle the switch ON anytime if you want to review your rejected photos.
Review and Permanently Delete Rejected Photos
Reject flags are often used to mark images that can be discarded. However, you may want to review any rejected images before permanently deleting them.
- Open the More menu and ensure the switch next to Show Rejected Photos is in the ON position.
- Click the funnel icon
![]() in the left sidebar to open the QuickFilters tool.
in the left sidebar to open the QuickFilters tool. - Twirl down the Rating, Label, & Flag section.
- Click on the Reject Flag icon
![]() to view all rejected images in the current view.
to view all rejected images in the current view. - Review the images marked with Reject Flags. If you want to permanently delete these images, open the Organize menu in the operating system menu bar and choose Delete Rejected Photos or open the Actions menu and select Photo > Delete Rejected Photo(s).
Using Star Ratings
A Star rating allows you to rank your photos with 1, 2, 3, 4, or 5 Stars. This is a great way to rank your photos and separate your best photos from those that should be deleted. Here’s an example of how you might use Star Ratings:
![]() photos are the best — worth printing and sharing in your portfolio
photos are the best — worth printing and sharing in your portfolio![]() photos are good — perfect for sharing on social media
photos are good — perfect for sharing on social media![]() photos are average — keep an archive, but don’t share
photos are average — keep an archive, but don’t share![]() photos are low-quality — keep for sentimental reasons
photos are low-quality — keep for sentimental reasons![]() photos are extremely low-quality with no sentimental value — can be deleted
photos are extremely low-quality with no sentimental value — can be deleted
Star Ratings can be added to images using the Rating Bar, Keyboard Shortcuts, or Gestures using a touchscreen, trackpad, or mouse.
- Adding Star Ratings using the Rating Bar
-
- Select a photo or series of photos.
- Click on the tag icon
![]() in the right sidebar to open the Rating Bar.
in the right sidebar to open the Rating Bar. - Add (or remove) a rating by clicking an icon for 1, 2, 3, 4, or 5 Stars.
- Adding Star Ratings using Keyboard Shortcuts
-
- Select a photo or series of photos.
- Add or remove Star Ratings to photos by typing
1= one star,2= two stars,3= three stars,4= four stars, or5= five stars.
- Adding Star Ratings using a Touchscreen, Trackpad, or Mouse
-
Gestures are a quick and easy way to add star ratings to images. Gestures are enabled by default; however, if you’d prefer to disable them, visit Settings in the More menu, select General, and toggle the switch next to Enable Single Image Review Gestures to the OFF position.
- Open an image in Single Photo View.
- On a touchscreen device, touch and drag up or down on the left-hand side of the image to change the star rating.
- Using a trackpad or mouse, click and drag up or down on the left-hand side of the image to change the star rating.
- Open an image in Single Photo View.
Using Color Labels
Color Labels let you apply a colored tag to a photo or series of photos. Here are a few examples of how you might use Color Labels:
- Apply a Red label to all portrait photos and a Blue label to all landscape photos.
- Apply a Yellow label to images that need to be edited.
- Apply a Green label to images shared on social media.
Color Labels can be added to images using the Rating Bar or Keyboard Shortcuts.
- Adding Color Labels using the Rating Bar
-
- Select a photo or series of photos.
- Click on the tag icon
![]() in the right sidebar to open the Rating Bar.
in the right sidebar to open the Rating Bar. - Add (or remove) a color label by clicking the red, yellow, green, blue, or purple color label icons.
- Adding Color Labels using Keyboard Shortcuts
-
- Select a photo or series of photos.
- Add or remove Color Labels to photos by typing
6= red,7= yellow,8= green,9= blue, or0= purple.
Post your comment on this topic.