
Auto-Mark is helpful when you have many similar images to sort through. When enabled, Auto-Mark will use AI technology to scan similar files and determine the best photos to keep based on your selected criteria.
- Click the Auto-Mark button in the bottom right corner of the screen.
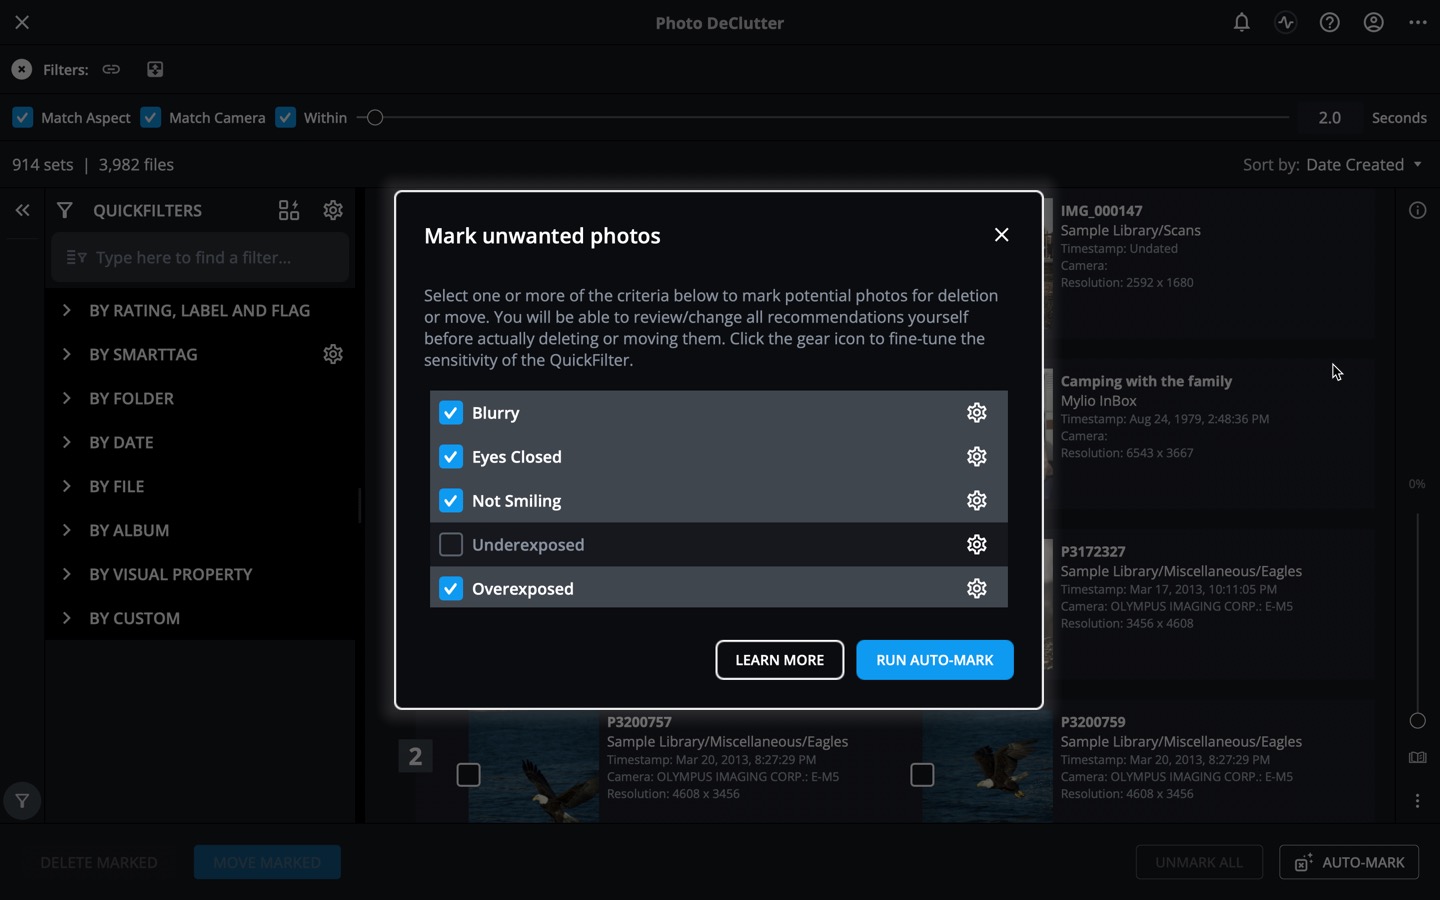
- Check the boxes next to each option you want Auto-Mark to consider, then click the gear icon
![]() to adjust the AI sensitivity settings for each option. Move the AI sensitivity slider to the left to increase accuracy with fewer results, or to the right to decrease accuracy with more results. Scroll down to learn more about each Auto-Mark Option.
to adjust the AI sensitivity settings for each option. Move the AI sensitivity slider to the left to increase accuracy with fewer results, or to the right to decrease accuracy with more results. Scroll down to learn more about each Auto-Mark Option. - When satisfied with the settings, click the Run Auto-Mark button to mark your images.
- After Auto-Mark is complete, you can review the suggestions and make any necessary adjustments before choosing Move Marked or Delete Marked.
- Auto-Mark Options
-
Auto-Mark uses the criteria below to determine which images are best to keep. You can use some or all of the options below and adjust the AI sensitivity for each option.
- Blurry – When checked, blurry or out-of-focus images will be marked.
- Eyes Closed – When checked, images of people with closed eyes will be marked.
- Not Smiling – When checked, images of people who are not smiling will be marked.
- Underexposed – When checked, underexposed or dark images will be marked.
- Overexposed – When checked, overexposed or bright images will be marked.
- Rejected – When checked, photos that have been flagged as Rejects will be marked.
- Low Rated (1 or 2 Star) – When checked, photos that have been given 1 or 2 stars will be marked.
Hinterlasse einen Kommentar.