
Albums in Mylio Photos provide a flexible way to organize and curate your images without affecting their original location in your file system. Unlike Folders, which reflect the actual structure of your files on disk, Albums are virtual collections—adding a photo to an Album references the original-quality file without moving, duplicating, or altering it. This allows you to group photos in multiple ways without disrupting your existing organization.
Albums can be used for a variety of purposes, such as:
- Dream Vacation in Hawaii – Gather your best travel shots in one place.
- Best of 2025 – Highlight your favorite photos from the past year.
- Anniversary Slideshow – Quickly compile images for a special event.
Because Albums are completely customizable and independent of folder structure, they’re ideal for personal projects, sharing, or temporary groupings.
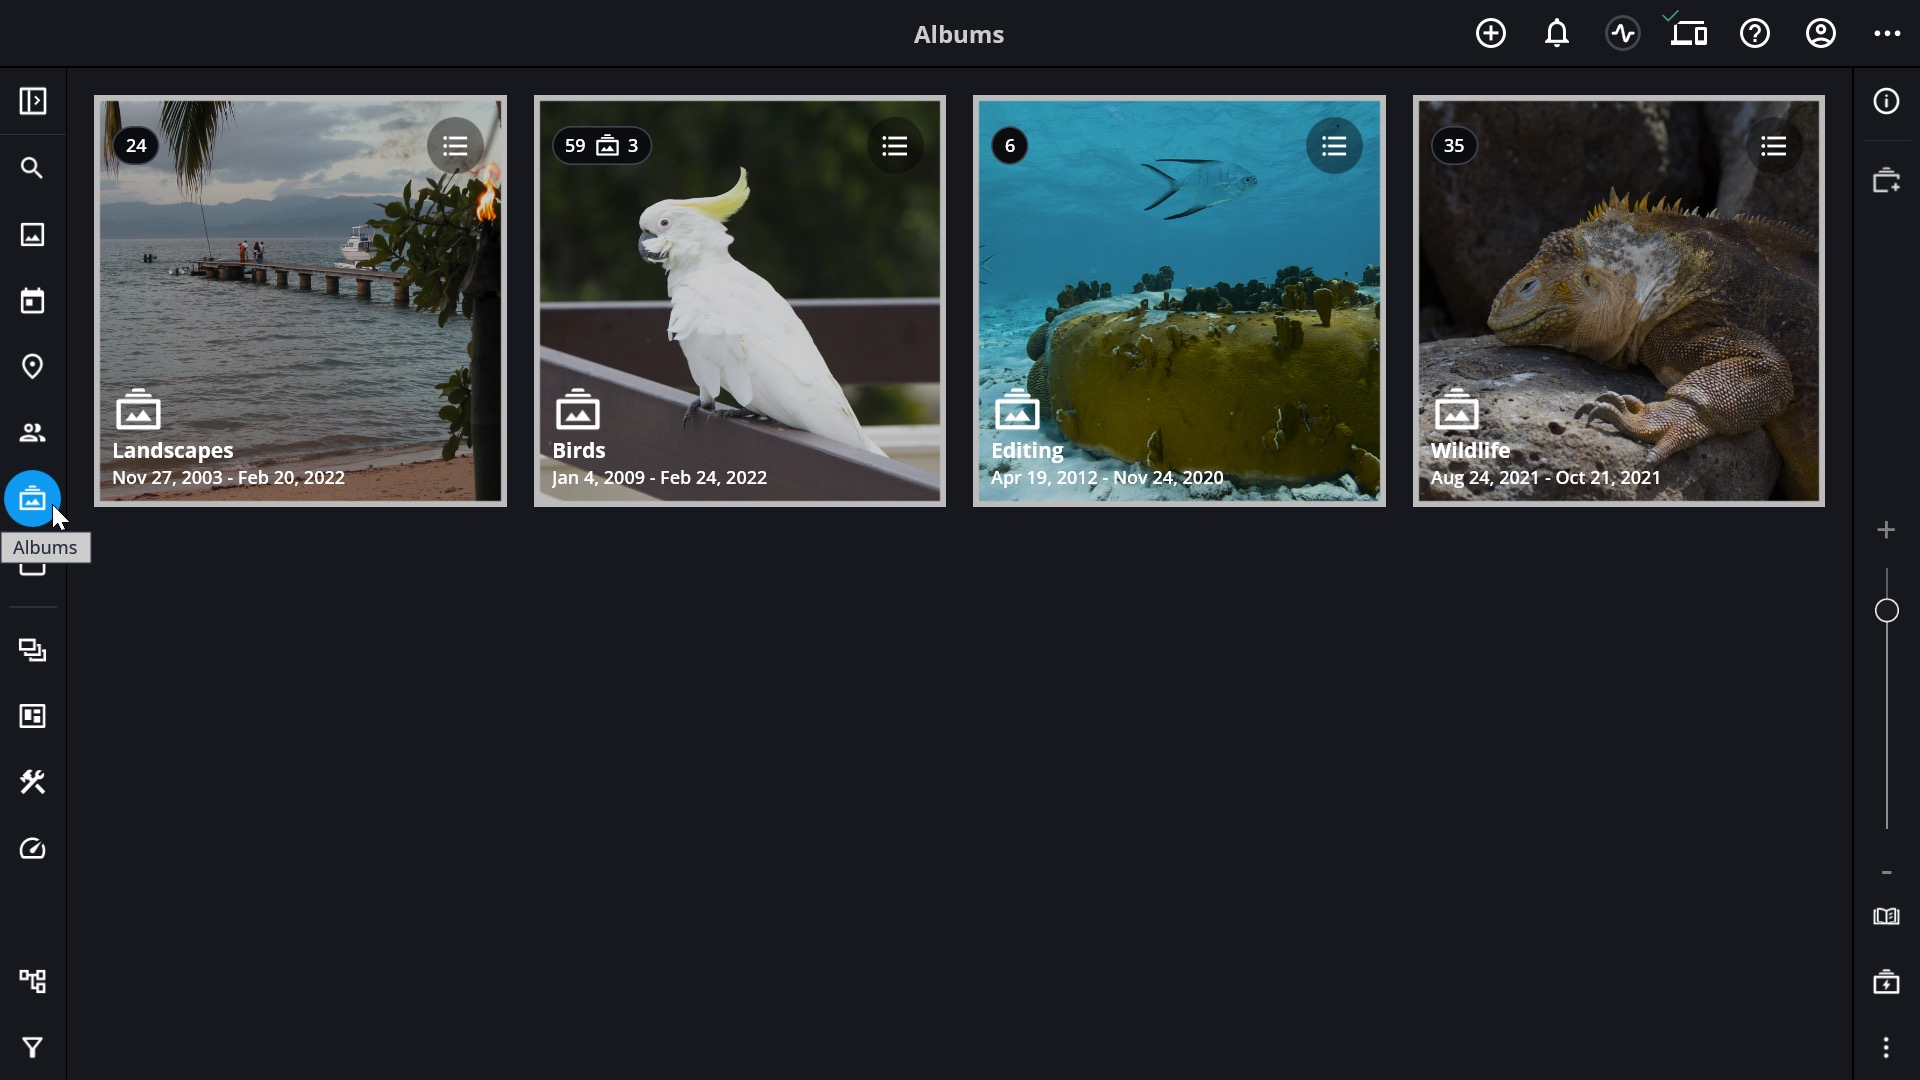
To view your Albums, click the Albums icon ![]() in the left sidebar. To view the contents of an album, double-click on the Album to open it. Click here to learn more about organizing media into Albums.
in the left sidebar. To view the contents of an album, double-click on the Album to open it. Click here to learn more about organizing media into Albums.
Navigating the Albums View
- Click Albums icon
![]() in the left sidebar.
in the left sidebar.
- Double-click on an Album to view its contents.
- Click the back arrow
![]() in the Top App Bar or click the
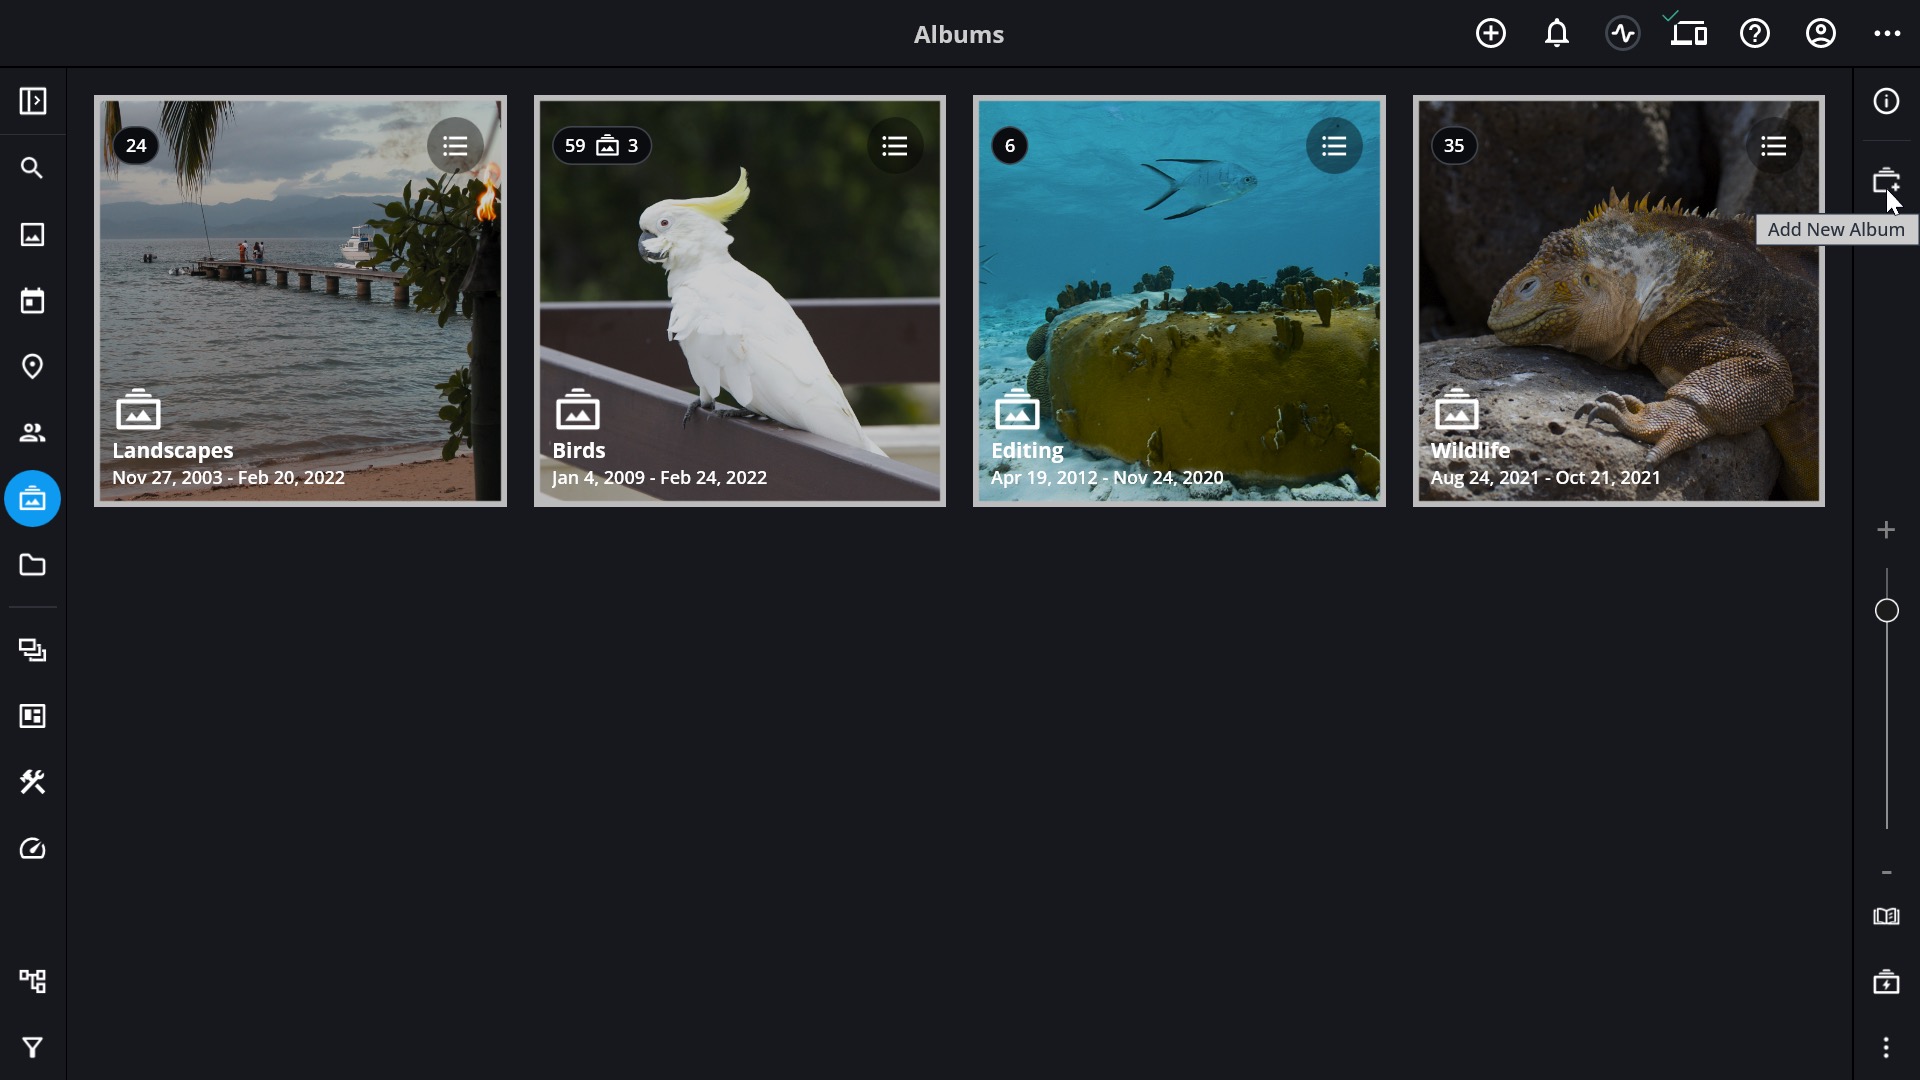
in the Top App Bar or click the esckey on your keyboard to close an Album and go back one level. - To create a new Album, click the New Album icon
![]() in the right sidebar. If an Album is selected, the new Album will be placed inside the selected Album.
in the right sidebar. If an Album is selected, the new Album will be placed inside the selected Album.
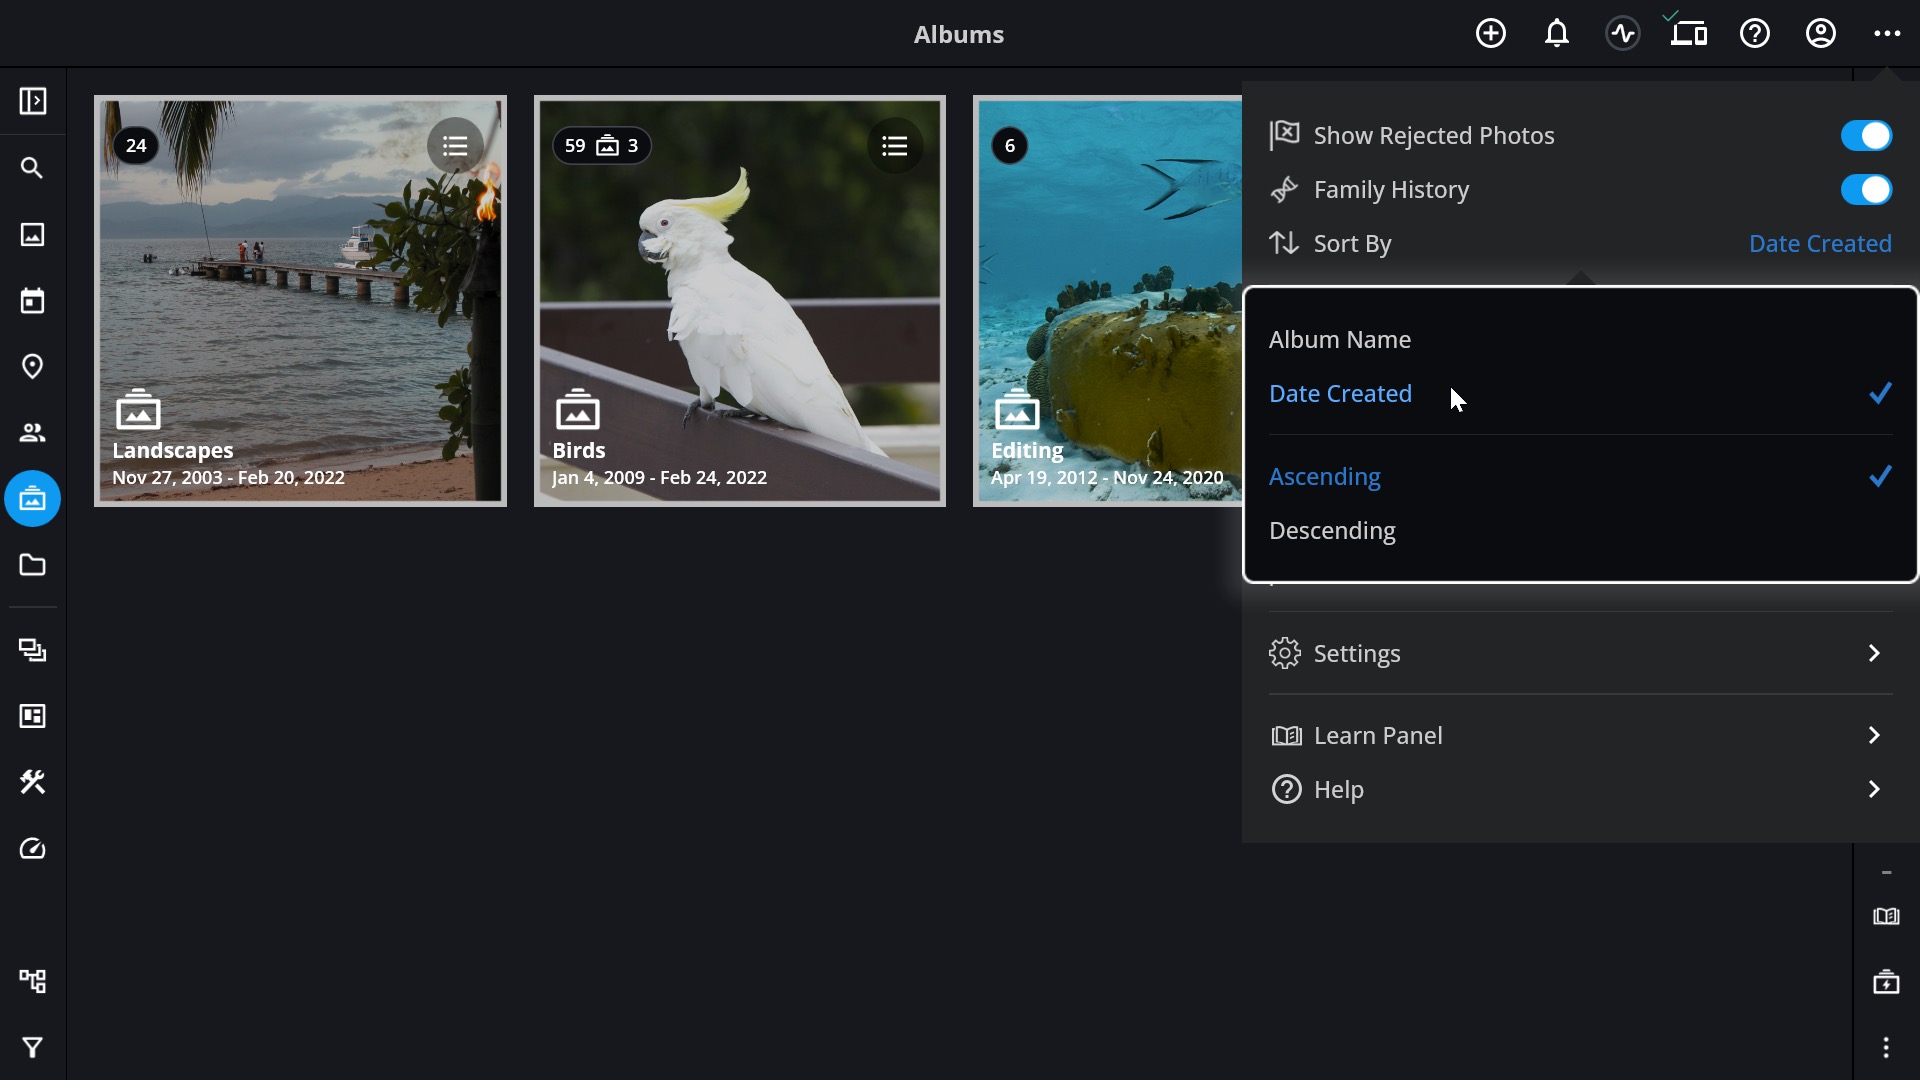
- To adjust the sort order of your Album list or the contents of an Album, click the More Menu icon
![]() in the top app bar, then select then select the option you want to use next to next to Sort By.
in the top app bar, then select then select the option you want to use next to next to Sort By.
*TIP: You can also create a new Album by right-clicking anywhere in the Albums view and choosing Album > New Album or by tapping the Actions Menu icon ![]() , and selecting New Album.
, and selecting New Album.
Navigating Using the Album Tree
- Click Albums icon
![]() in the left sidebar.
in the left sidebar. - Click the Navigation icon
![]() in the left sidebar to view an Album Tree in the left panel.
in the left sidebar to view an Album Tree in the left panel.
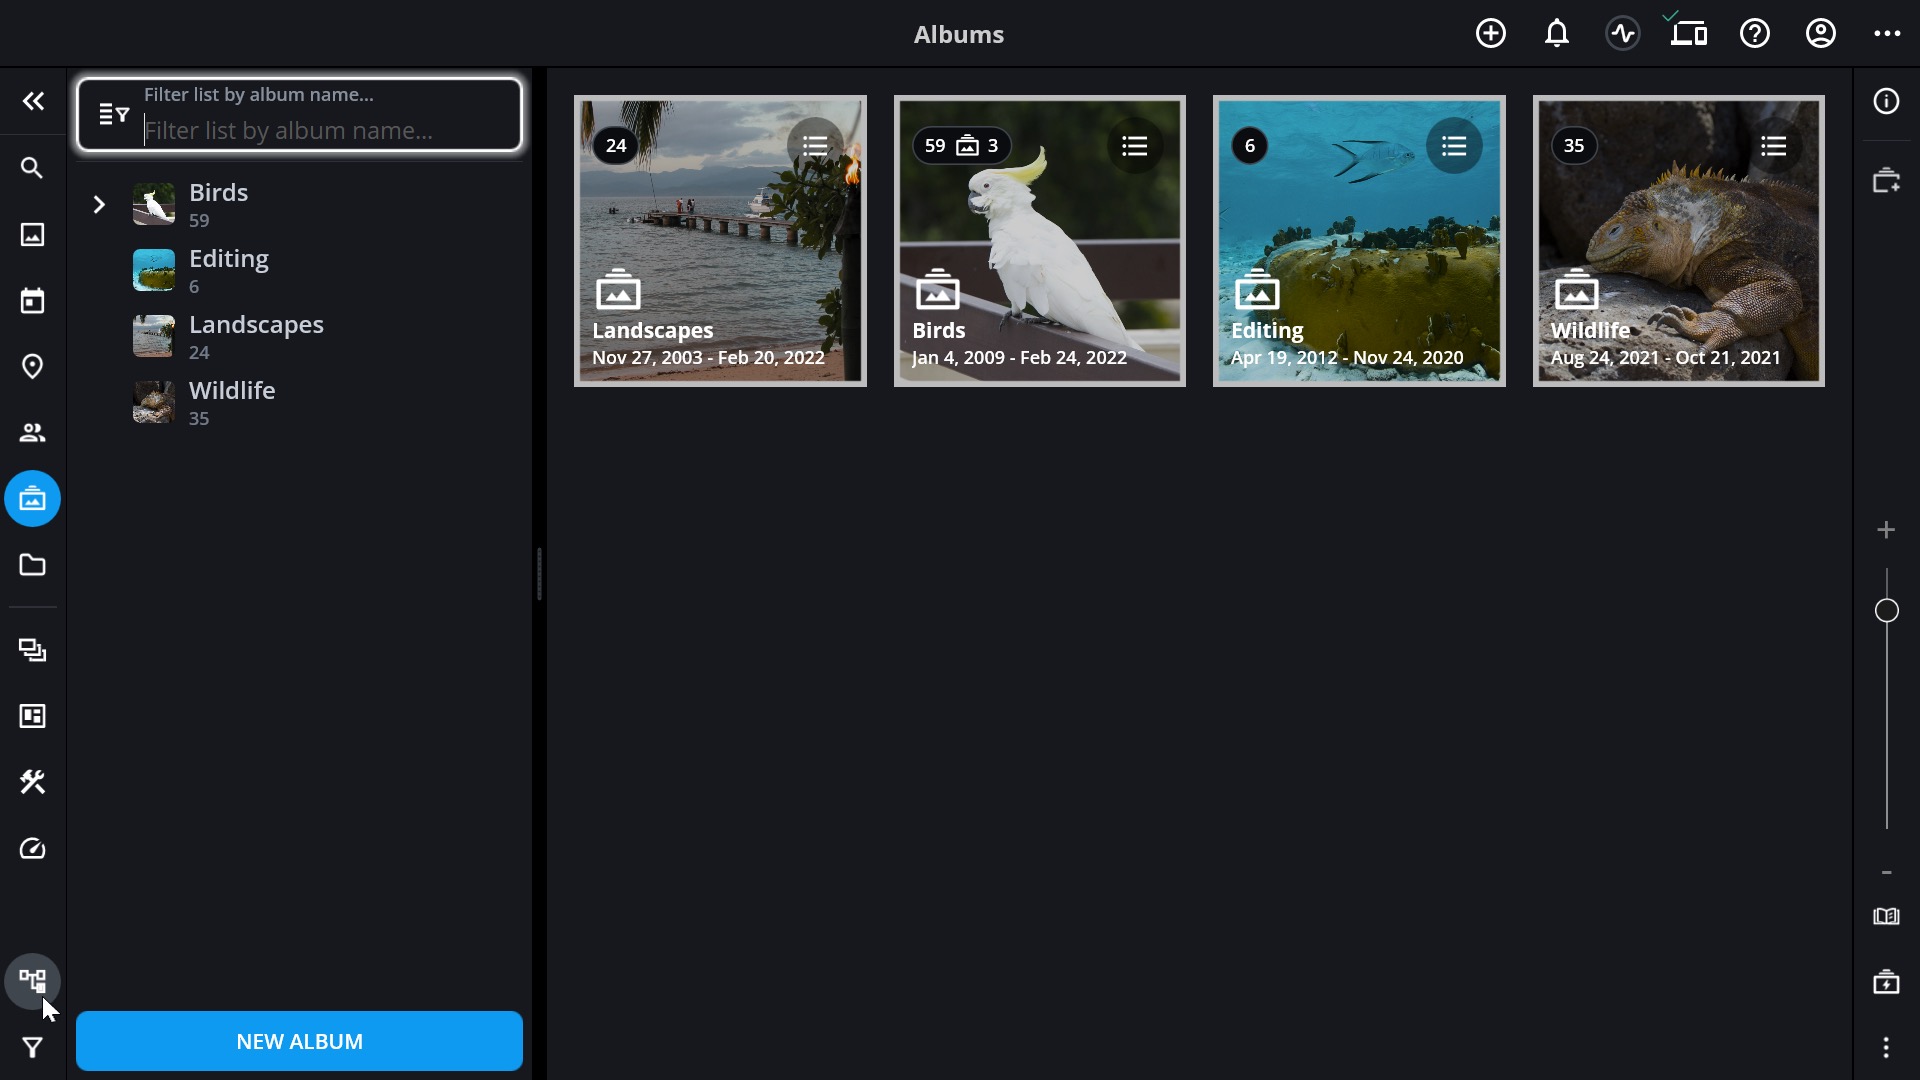
- Click on an Album to view its contents in the image window.
- Click the disclosure arrow
![]() to expand the Album and display any sub-albums.
to expand the Album and display any sub-albums. - To Create a New Album, click or tap the New Album button at the bottom of the left panel. If an Album is selected, the new Album will be placed inside the selected Album.
- Viewing Album Details in the Info Panel
-
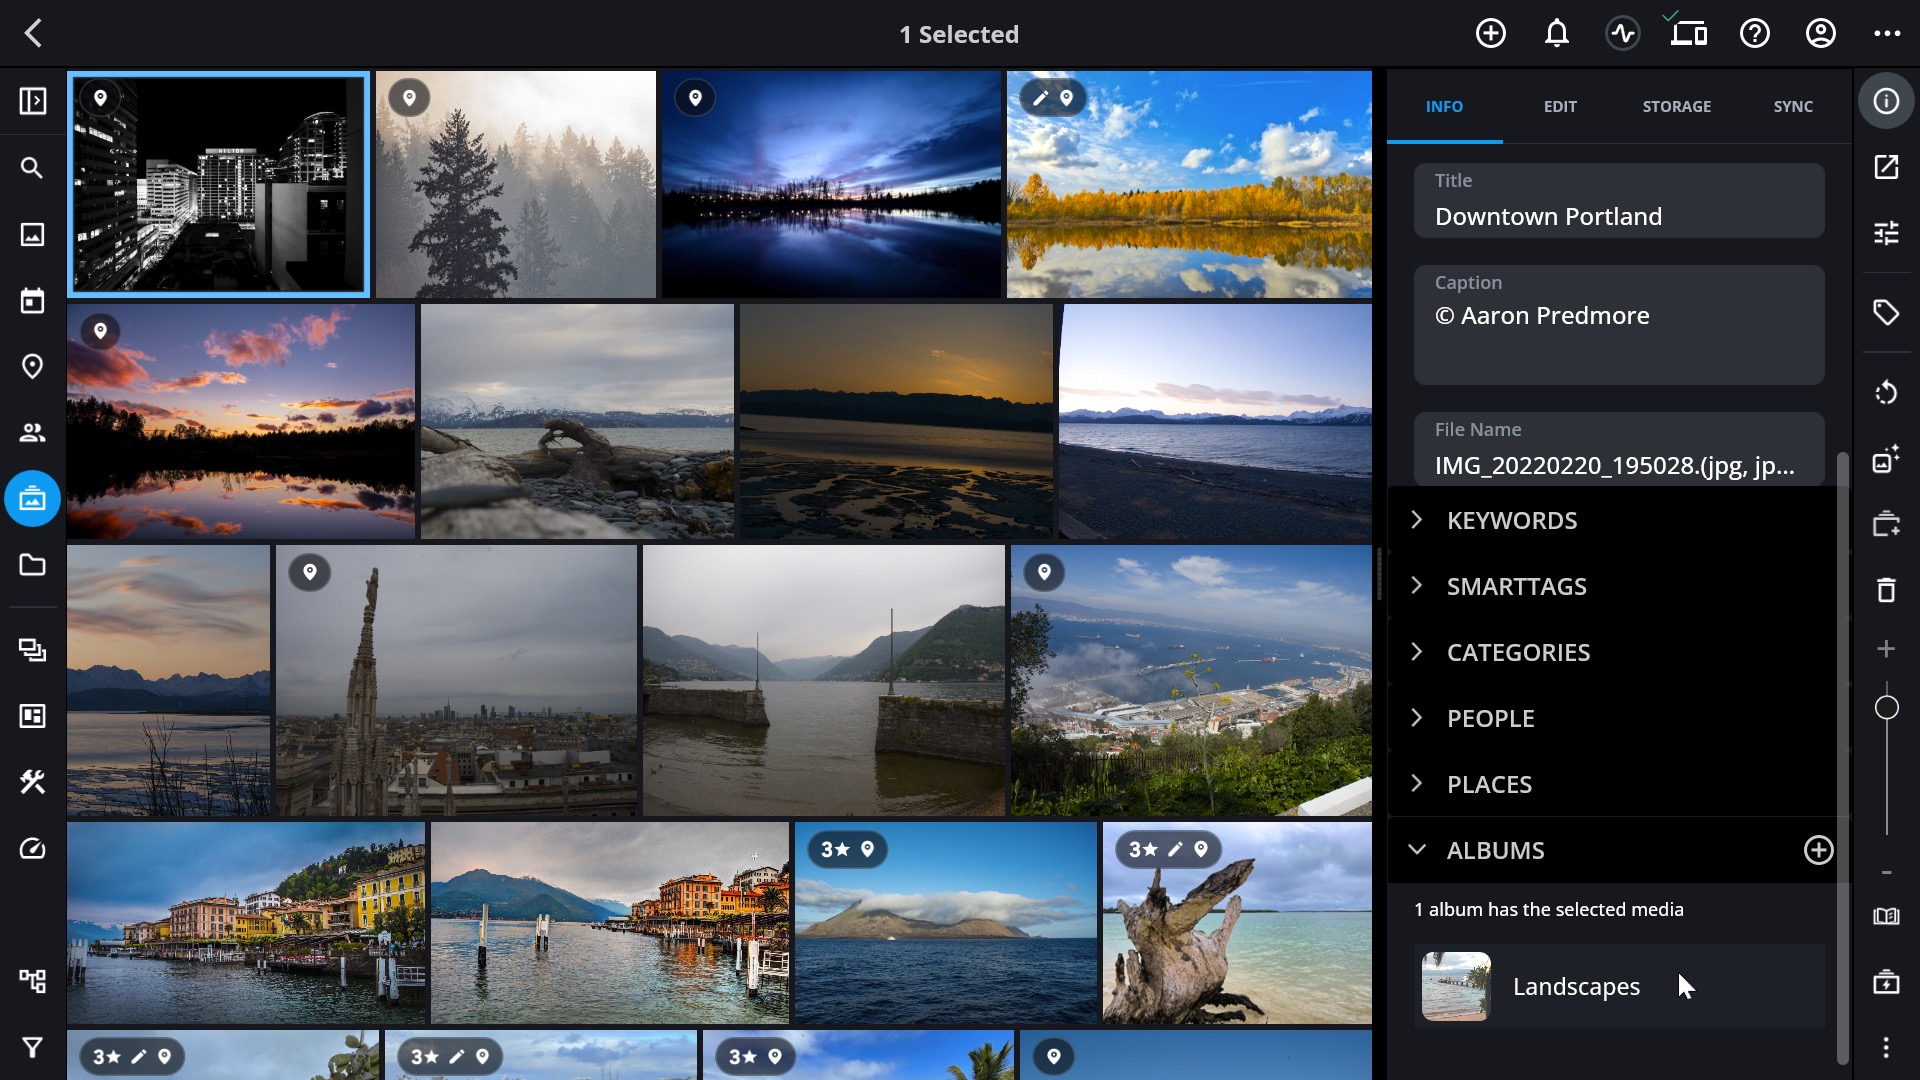
Mylio Photos’ Info Panel displays metadata and other helpful information about your media. When a photo is selected, the Albums section of the Info Panel shows which Albums the selected media has been added to.
- Select a photo in any view.
- Scroll down to the Albums section in the Info Panel inside the right panel, and expand it if necessary. If the selected photo has been added to one or more Albums, the Album(s) will be listed in this section of the Info Panel.
![]()
- Click on an Album in the Info Panel.
- Choose to Remove Album from Selected Media, or
- Show media in Album to view all images in the selected Album.
- Click the + icon
![]() to add the selected image to one or more Albums.
to add the selected image to one or more Albums.
- Setting a Custom Cover Photo for an Album
-
By default, Mylio Photos uses Photo Prioritization settings to automatically select the cover photo for each Album. However, if you prefer, you can manually choose a custom cover photo to represent each Album.
- Click the Albums icon
![]() in the left sidebar.
in the left sidebar. - Double-click on an album to view its contents, and select the image you want to use as the cover photo.
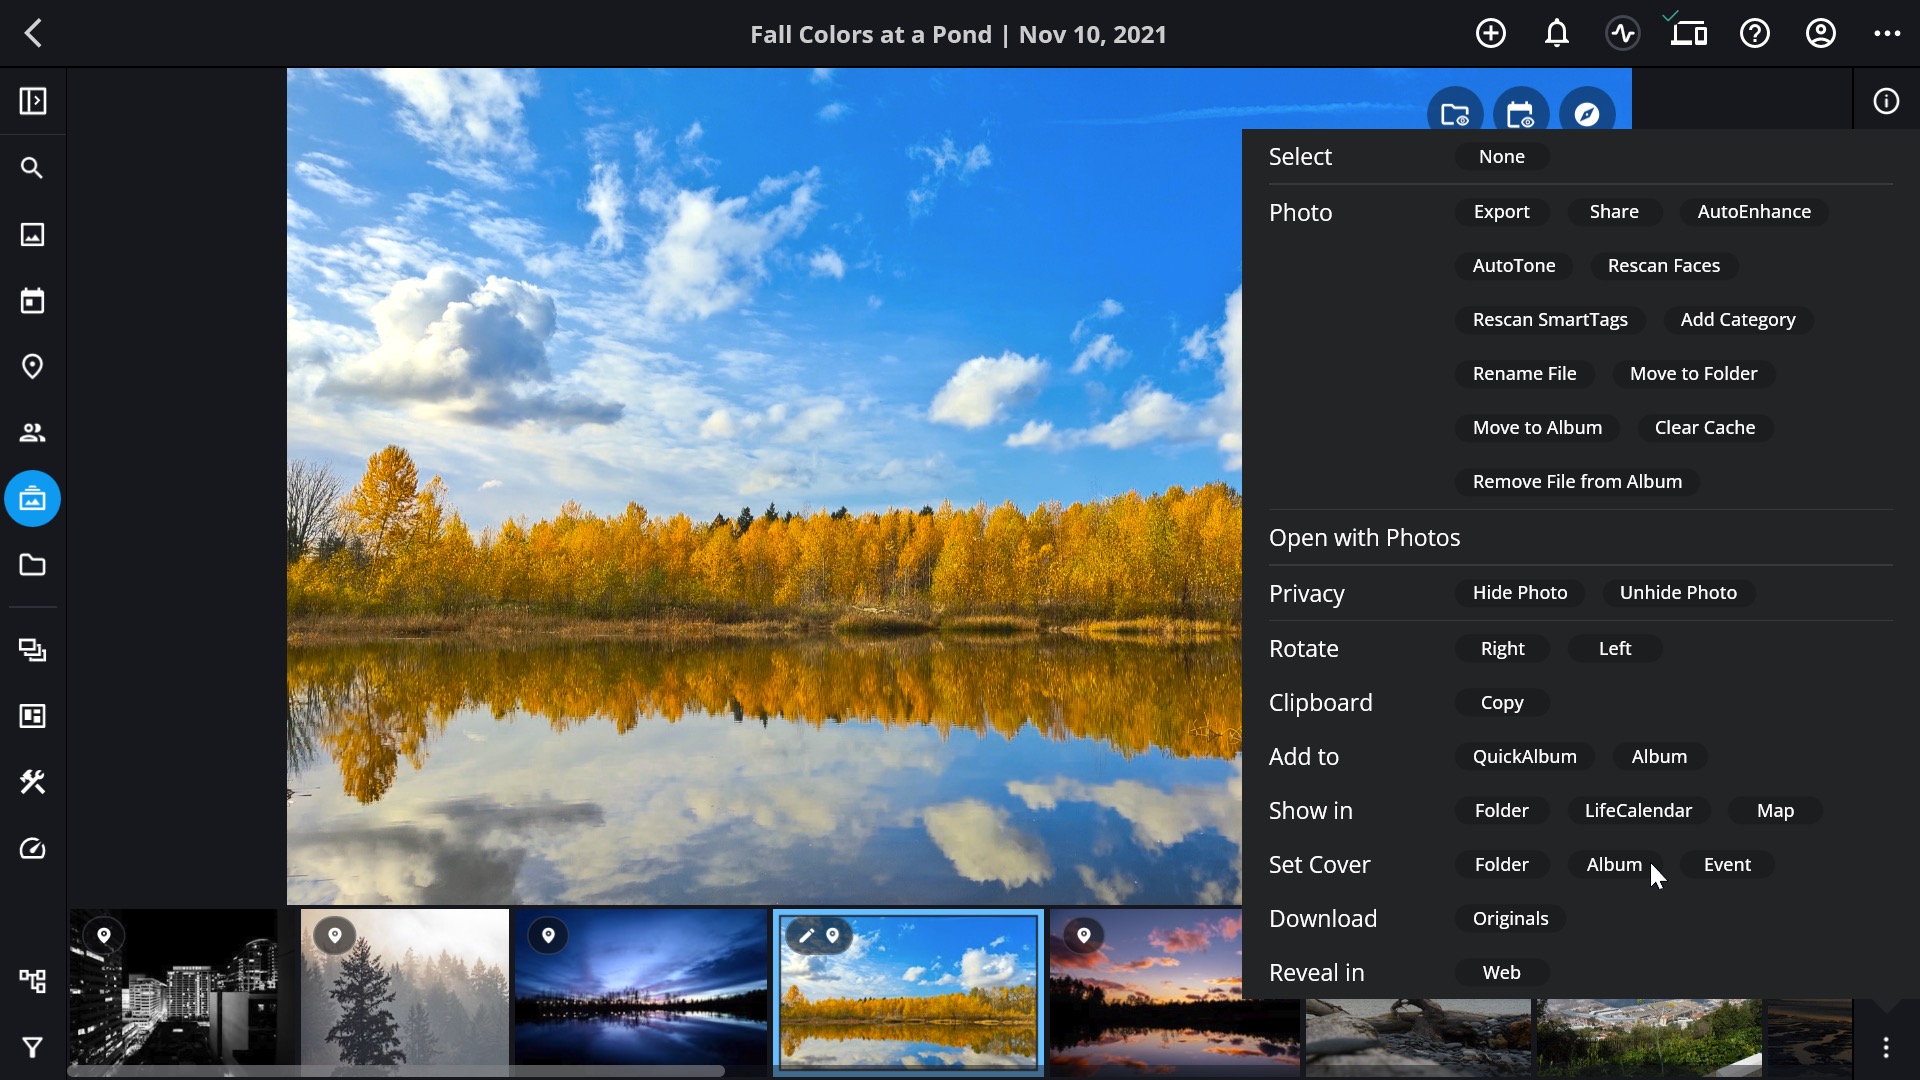
- Right-click your selection or tap the Actions Menu icon
![]() in the right sidebar.
in the right sidebar.
![]()
- Next to Set Cover, choose Album.
To reset an Album cover photo to the default Photo Prioritization settings, open the Info Panel, expand the Cover section if necessary, then click on the currently selected cover photo. From the Cover dialog, click Reset.
- Click the Albums icon
- Understanding Annotations in Albums View
-
Annotations are graphic overlays that display information about a group of media. In the Albums view, you’ll see a number at the top left corner of each folder. This indicates the number of files in that Album. If an album has nested sub-albums, you may also see an album icon
![]() and a second number indicating how many sub-folders are contained within that folder.
and a second number indicating how many sub-folders are contained within that folder.You will also see an annotation in the top right corner for Tap to Categorize. This lets you assign a Category to each Album, so you can control who is visible in each Space. Click on the Tap to Categorize icon
![]() and choose a Category.
and choose a Category.Icon Category ![]()
No Category Assigned ![]()
Personal ![]()
Family ![]()
Work ![]()
Private ![]()
Custom To show or hide these annotations, click the More Menu icon
![]() in the top app bar, choose Annotations, then toggle the switch next to each option to the ON or OFF position as desired.
in the top app bar, choose Annotations, then toggle the switch next to each option to the ON or OFF position as desired.
Post your comment on this topic.